
But I digress.
Anyway, this will be my first quilty Valentine's Day. I've never done anything fabric-wise for this holiday. To be honest, I've never felt it was a Big Deal Holiday, not like Christmas, which is a whole season that people decorate for, or even Thanksgiving, which has become something of a Decorating Season as well. I give cards to my husband and son. Maybe some flowers or candy for me from my husband. That's about it. No big deal.
But that was BTQV (Before The Quilting Violinist). As it turns out, I'm doing 2 markets in the next couple of weeks: Wiregrass again on Feb. 5 (I was there for the first time in early December) and (drumroll please) my own neighborhood market here in Seminole Heights on the 13th. (www.sundaymorningmarket.com ). You'll recall that I've had vendor approval at the Sunday Morning Market for several months but there hasn't been space until now. Anyway, I'm excited about both these events. And clearly, some sort of Valentine-inspired project is in order.
--but--
I didn't want to do a Big Deal Project. I'd rather have something fun and inexpensive, that folks can just buy for fun and enjoy on the 14th. Something that I can produce quickly, and not take alot of time away from larger projects.
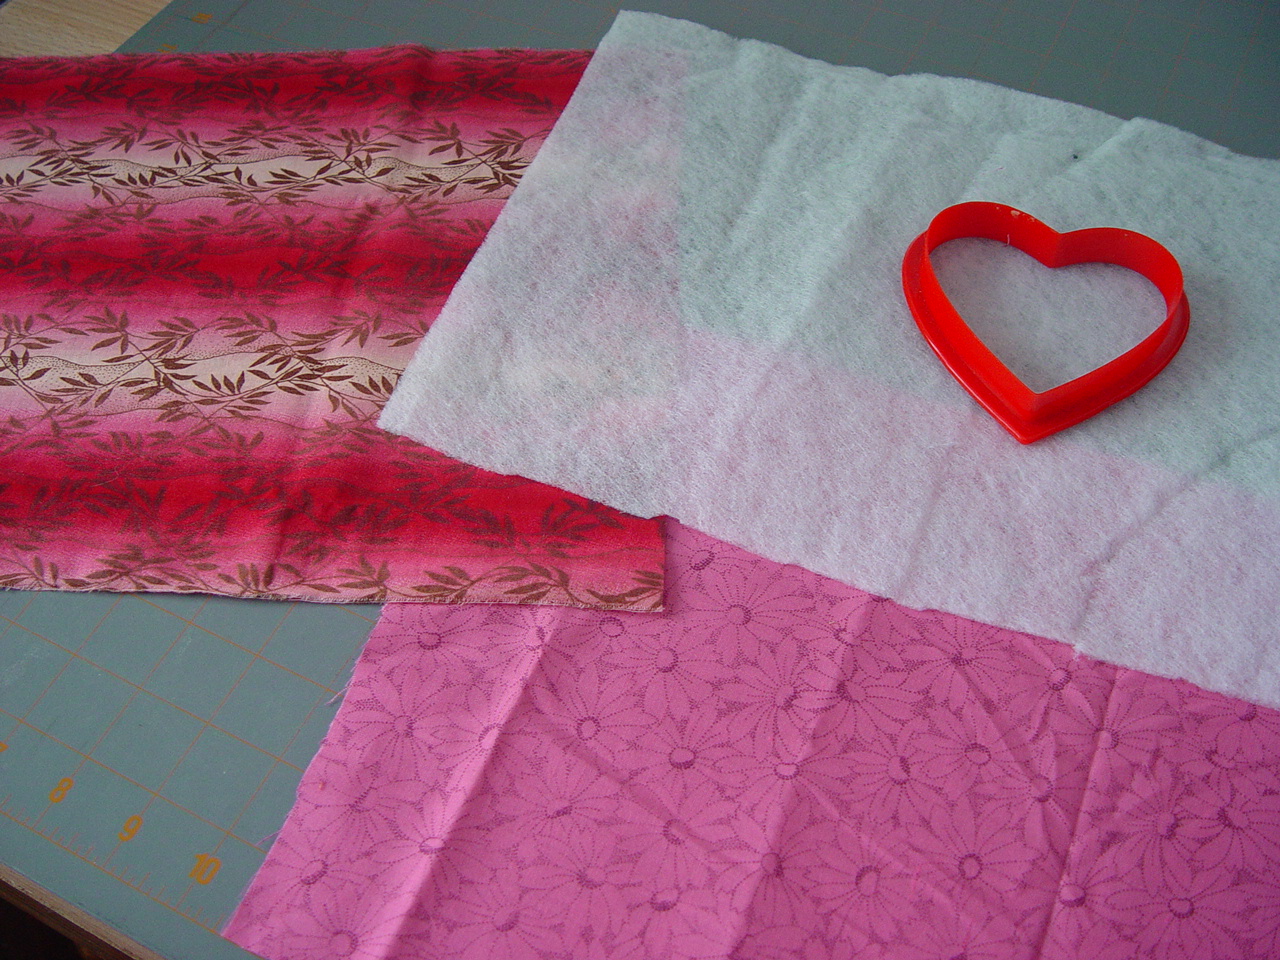
You're going to need fabric for the front and back, a piece of batting and some sort of template. I'm using a plastic cookie cutter. Or you can draw your own on a piece of cardboard or template plastic and use that.
You'll also need pinking shears and a few safety pins. And put the walking foot on your sewing machine.

make sure you leave at least 3/4" between your traced shapes
Place the bottom fabric right side down, then the batting, then the marked fabric right side up. Put a safety pin through the heart centers to hold everything together.


If you like crisp edges,you can leave these just as they are.

I was originally going to make these as matching sets of 4, but then I decided just to sell them individually, more of a "mix and match" concept.
So forget paper valentine cards this year! Save some trees and use up your fabric stash instead.
Sometimes easy projects are the best! So cute : )
ReplyDelete