Showing posts with label scraps. Show all posts

Thursday, April 25, 2019

Make a Run for it

My latest custom quilt came to me in the best way-- as a referral from a friend of the Kimono Quilt customer.  Even in the digital age, word-of-mouth advertising still works!

This was a straightforward Tshirt quilt made from a shirt collection accumulated over many years of participation in road races.  What we ended up doing was selecting the favorite shirts for this lap size quilt, with many left over for a possible future project.


Just for fun, I did an off-set setting of the rows, which I haven't tried before but I really like it!


This pic shows the background fabric:  Contempo Abstract Garden from Benartex (more information about it here).  It's a cool, slightly retro look and appropriate for this man's quilt. A coordinating print from the same collection is in between the rows.


A teal polka dot is on the back, and a coordinating green fabric was used for the binding.


Some of these shirts are quite historic!


A few more details:  size is 55 x 65".  Batting is Thermore, which is really lightweight and doesn't shrink when washed.  Quilting is an overall stipple pattern, with a little straight line quilting towards the outer edge just for stablilization.

This blog space is being used for details of my custom orders. For more of my regular ramblings, show information and other fun, please join me on Instagram  and Facebook!

Thursday, September 1, 2016

In September


Ah, September.  Summer has passed in a heartbeat.  Time for cooler weather, foliage, all that Autumn stuff, right?


HAHAHAHA YEAH RIGHT.  


Here comes Hermine, the first hurricane to directly hit the west coast of Florida in 11 years!

Here's a less technical, although highly accurate view of the current situation:


The current track shows the storm making landfall quite a ways north of here in north Florida, so we will not bear the brunt of it here in Tampa.  Really, the biggest issue here is several days of messy weather making travel difficult, localized flooding (not a big problem in my immediate neighborhood though, thank goodness) and the possibility of wind damage tonight when the storm passes close to us.  I'm just hoping the power stays on.  

Well, bad weather means LOTS of time for quilting, so it's not all bad!

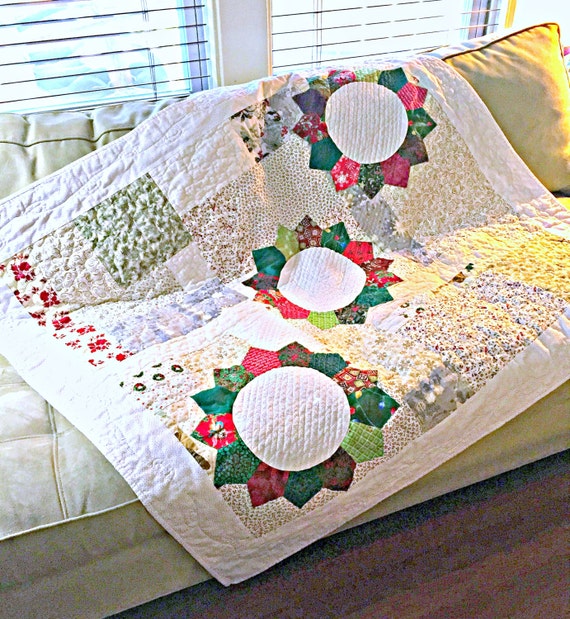
I recently completed a new Christmas quilt:

Christmas Quilt, Red and Green Quilt, Lap Quilt, Modern Quilt, Scrap Quilt, Christmas Bedding, Throw Quilt, Dresden Plate, Patchwork Quilt

It's best described as A Trashy Christmas In Dresden.  I randomly pieced the background out of light and neutral holiday fabrics (that's the Trashy part) and then appliqued 3 Dresden plate blocks (made out of scraps of red and green fabrics) to the top.  


The fabric in the center actually has a tiny silver polka dot that didn't show up well in the pictures.  The same fabric is used on the outer borders as well.


More details here from my Etsy shop.


Keeping me company during the storm today:


Maybe if I work with a lot of fall fabric it will make it arrive faster?

Monday, January 11, 2016

Home Improvement

Happy New Year!

I hope everyone had a wonderful holiday and a great start to 2016!

As usual, I was really busy with orchestra work and free-lance jobs through Christmas Eve, then I had some much-appreciated time off.

I even had time for a few Crafty Household Adventures.

I made a cool black and white bath rug for my cool black and white bathroom.


I pieced together 5 1/2" squares, then used a towel for the back.

There's no batting (it's thick enough with the towel back) and no binding.  I used the "turn and topstitch" method of construction.


It was a great way to use up scraps and assorted small pieces of fabric.


I like it so much that I'm considering adding something like this to my Etsy shop stock.  There's very little like it there now among all the bath rugs for sale there (surprising to me, yet true) and it might be a nice complement to my selvage bath mats.


Also, I painted my refrigerator!

Before you start questioning my sanity, let me explain:

I have a beautiful renovated kitchen with a nice set of matching white appliances:

Stove, with matching microwave above it;


matching dishwasher;


too many scuff marks!
And a rather old, scuffed up BLACK refrigerator that works perfectly well but was simply not aesthetically worthy of the rest of the kitchen.

I rent this house, and when I asked the landlord where the refrigerator came from, he said that when he was redoing the kitchen his office was moving and they were giving the refrigerator away.

Hooray for free appliances.

It was also a low-risk makeover project.


It looked better even with just primer on it!


Now it's a chalkboard!

I followed this tutorial that I found on Pinterest.  It wasn't a difficult process, although I did spread out the drying times for the coats of primer and paint overnight due to the freakishly hot and humid holiday weather that we had.   It's a great way to give new life to an old appliance!


Monday, September 28, 2015

A Holiday Destination

Where to go for the holidays?

DRESDEN.  Of course.


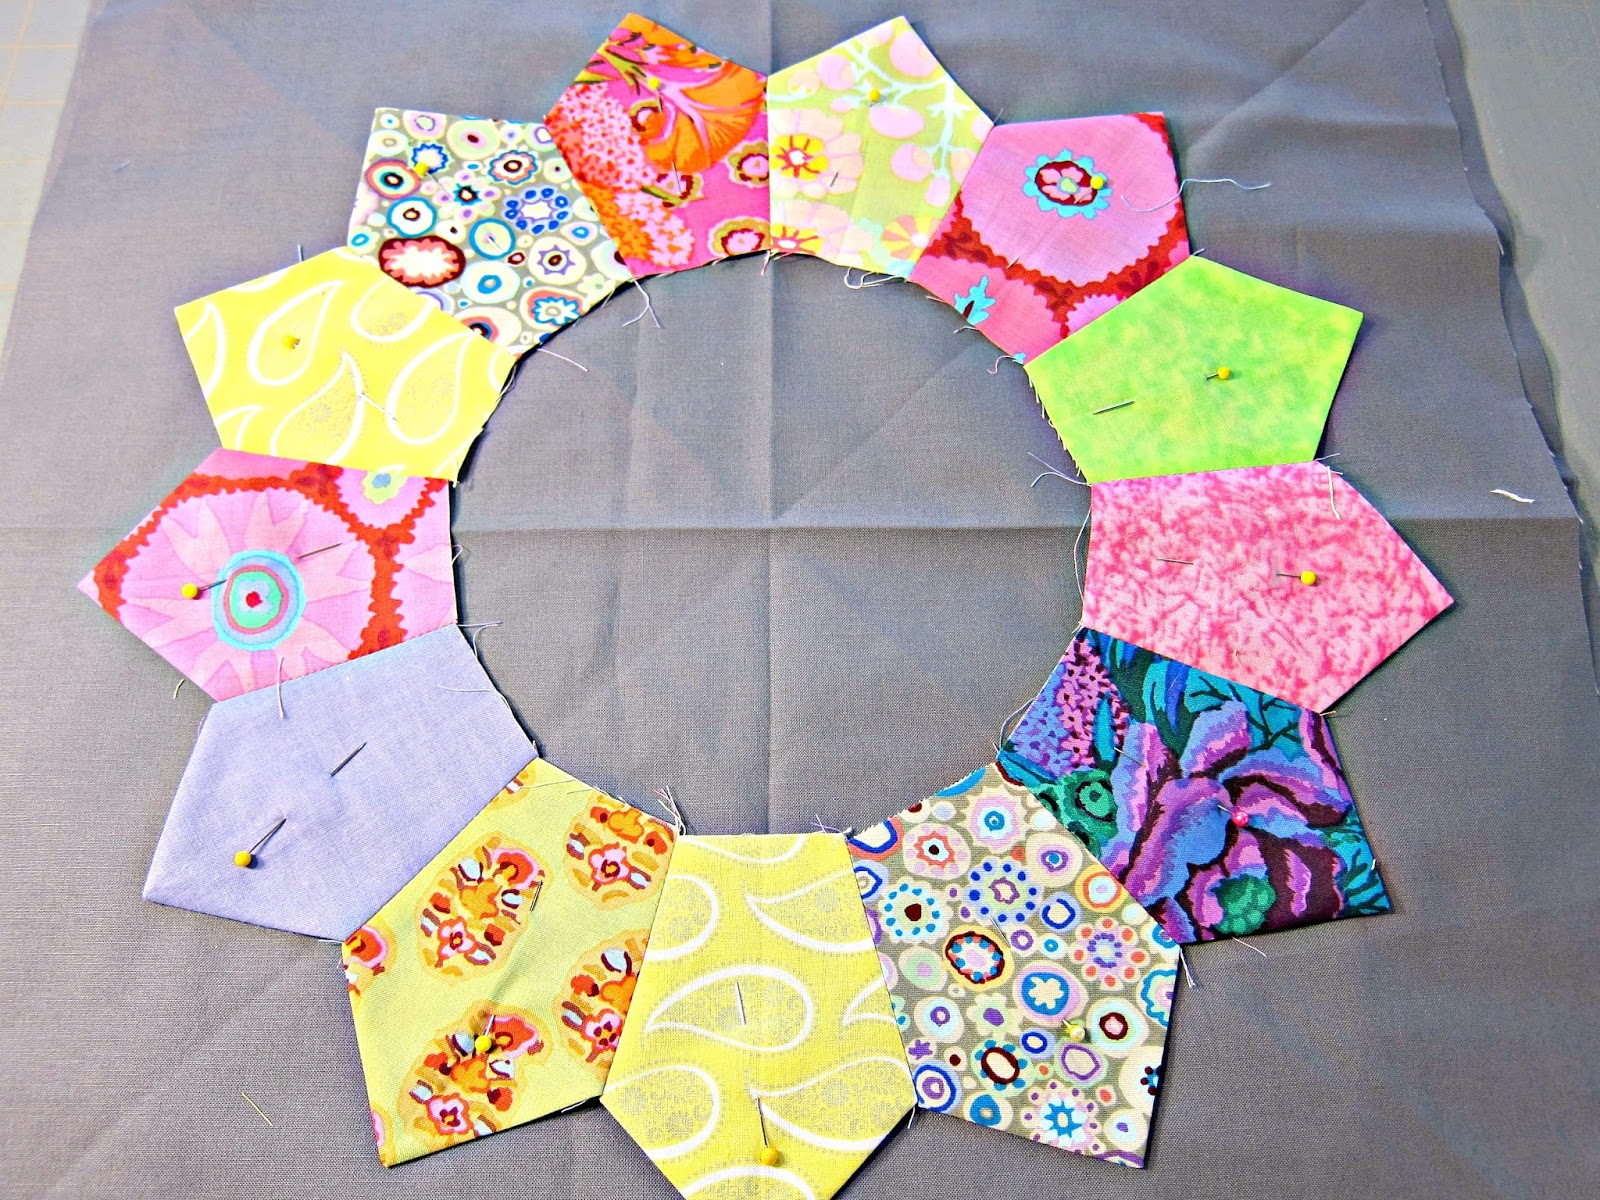
My Christmas fabrics generate scraps at an unusually high rate-- maybe because those fabrics only see the light of day for a limited portion of the year.  At any rate, having more fun with the Dresden Plate block seemed an obvious way to use up some of those scraps.


I quilted it with my walking foot.  There's echo quilting around the outside edge of the petals, plus a few circles towards the center.  It's only about 16" square, so not much quilting is required, making this a pretty quick project.  (And fun!) 


This was made with the Accuquilt Go tumbler block die for the petals-- and a "luncheon" size plate for the circle.  See my tutorial (Part 1, Part 2, Part 3) for the method.  And it's listed in my Etsy store.

Monday, August 10, 2015

Getting Silly

A small purchase for my home inspired an attack of Crafting Silliness.


It's just a simple Reading Wedge-type pillow, something that I've wanted for a while and finally found at Target.  (It's a seasonal "Back to School" type item, available now but not all the time).

I didn't initially object to the plain beige pillow cover, as my bedroom has acid green walls and a wide rotation of bed quilts in many colors.  Best to keep the accessories simple, and neutral.

But the poor thing is Just So Plain.   And I couldn't resist.


Time to break out the ric-rack and yo-yos!

Now, if you were really dedicated this could be a sewing project-- the pillow cover is removable.  But I decided to keep it fun and easy and used fabric glue, which is really strong and washable, and there was no need to remove the cover.


For a project like this, remember Linda's First Rule of Embellishment:

If Some is Good, More Must Be Better


I love it!

Tuesday, June 30, 2015

Going to Dresden-- the big finish!

Let's finish our Dresden Plate blocks with an easy way to make perfect circles and lots of fancy stitches!

(If you need to catch up:  Part 1 and Part 2)

We've constructed the petal portion of the block and pinned it to an 18 1/2" square of background fabric.
To construct the center circles:  find a bowl, plate, or something circular that's at least 3/4 of an inch larger than the center of the block.  I used a 9" luncheon size plate and it worked just fine.

Trace the circle onto a piece of lightweight fusible stabilizer.  I always have a bolt of Pellon 960F in the house for making T shirt quilts, so that's what I used.


 Cut out the circle a little outside of the drawn line, and pin it to the fabric you've chosen for the center.

Pin right sides together:  the rougher side of the stabilizer is the right side, so have that facing the right side of the fabric.


 Sew all the way around the circle on the drawn line.


Trim away the excess fabric, then cut a slit in the back of the stabilizer.

Pull the the fabric through the hole.  You will have a circle with the right side of the fabric facing up and the right (rougher) side of the fusible stabilizer on the back facing down.
 Center the circle and iron to fuse to the block.
Now it's time for my favorite part:  fancy stitches!

These pictures were taken from the back of the completed blocks (before basting and quilting).


A narrow zig zag stitch, a single or double blanket stitch, or a satin stitch around the edges of the petals and the outside of the circle will all work fine.


Baste and quilt to finish.

My sampler turned out about 18 x 54"


With all the bright colors I used for the blocks I decided to keep the quilting simple with wavy horizontal lines done in invisible thread.


Tuesday, June 2, 2015

Going to Dresden, Part 2


This is a continuation of my last post, about constructing Dresden Plate blocks the Quick and Easy way using the Accuquilt Go cutter tumbler block die.  Click here for the full post and join in the fun!


We have 13 tumbler blocks cut out so it's time to start sewing.


Take each block and fold it in half lengthwise, right sides together.
Press.


Sew a 1/4" seam along the bottom edge.


Turn it right side out.

A chopstick or knitting needle helps to get that point fully turned.


 Press flat.


Have an 18 1/2" square of background fabric ready, and lay out the petals in whatever order you think looks best.


Sew them together in the order you selected, then press the seams open.


Center the circle of petals on your background fabric, and pin in place.

Next post:  we'll finish the blocks and have fun with fancy stitches!

Sunday, May 3, 2015

A Quick Gift

A friend of mine in the orchestra has a birthday coming up and I was trying to think of something fun and useful to make for her.

She's a passionate cook (I've been lucky to be on the receiving end of her culinary talents many times) AND she loves cats and owns 6 of them.

How about a set of cat dishtowels?

They're a quick, easy and scrap eating project for me and something really useful for her. A win-win situation for sure.


There is of course an infinite variety of ways to approach a project like this, but here's how I did these:

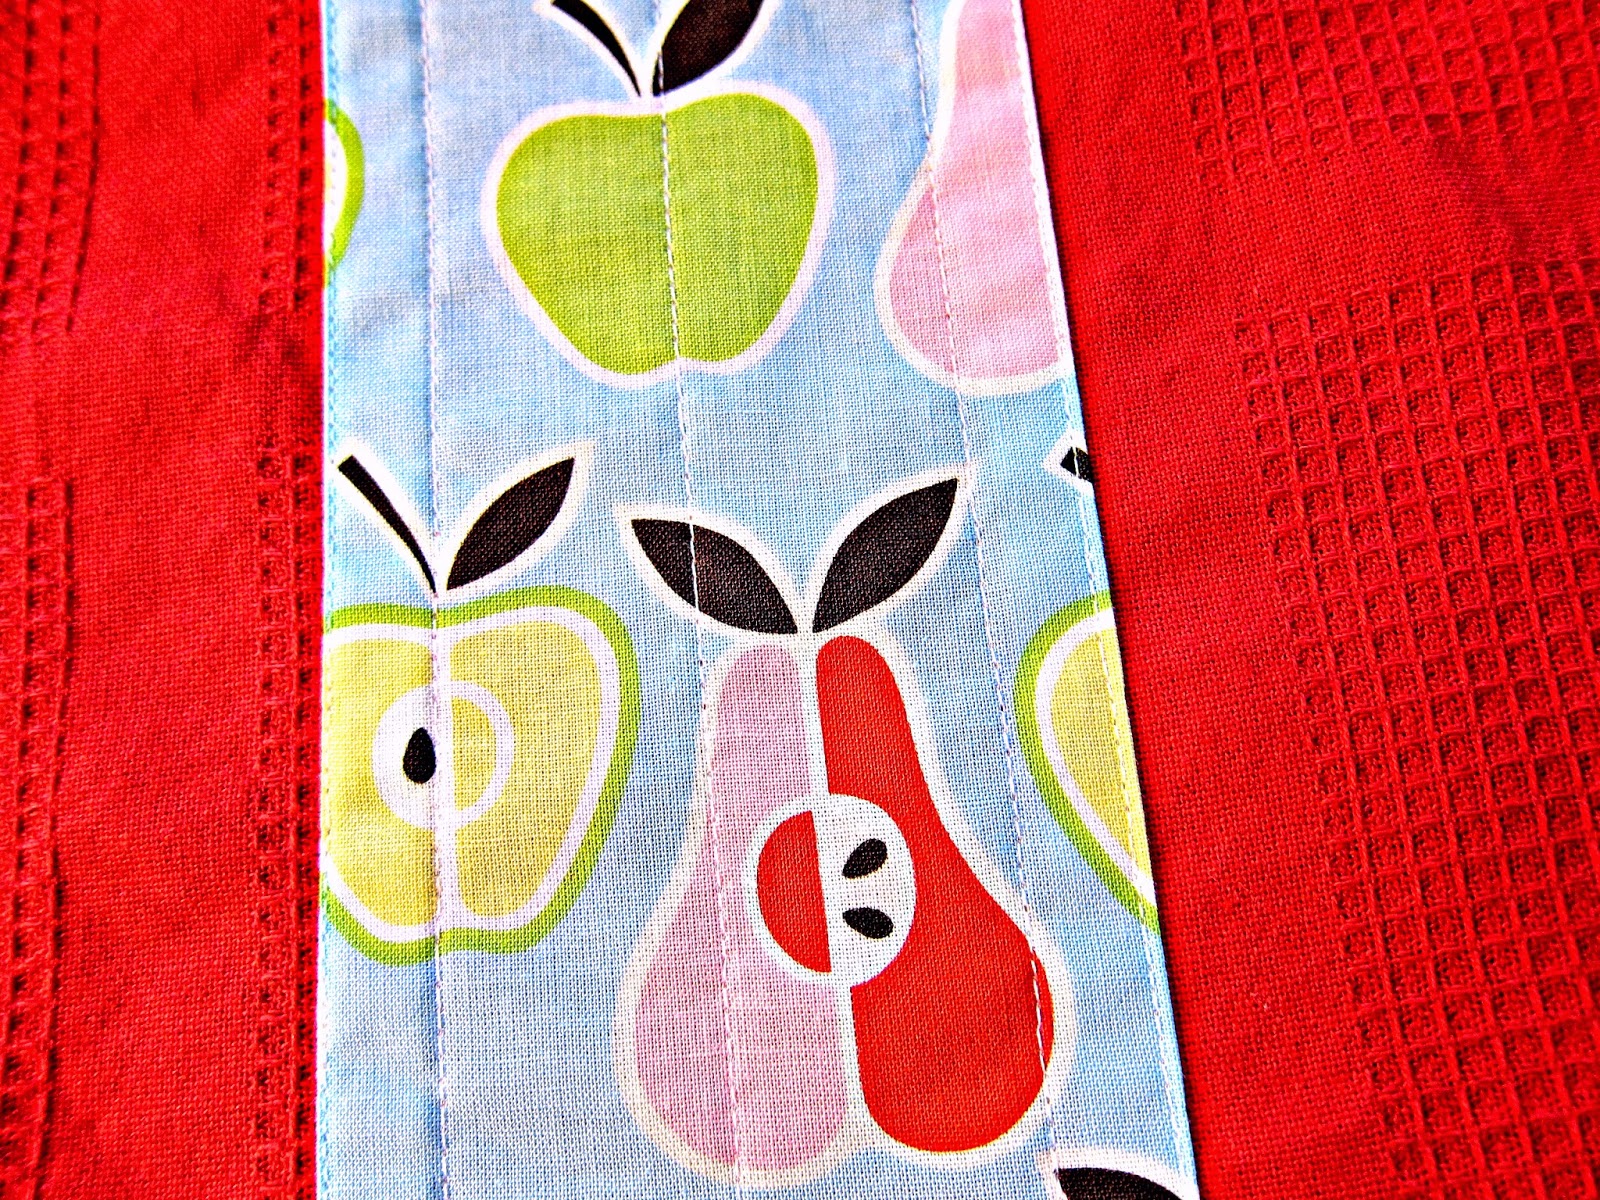
Start with a strip of fabric on the side of a pre-washed dish towel.


Fold the long edges and short edges under, press, and pin.  Stitch really close to the edges, then sew a few parallel lines of stitching towards the middle for sturdiness.

I used a straight stitch, but a narrow zig zag or blanket stitch would work fine along the edge as well.


Prepare your appliques.
For this particular project, the cat die for the Accuquilt Go cutter was a natural choice.


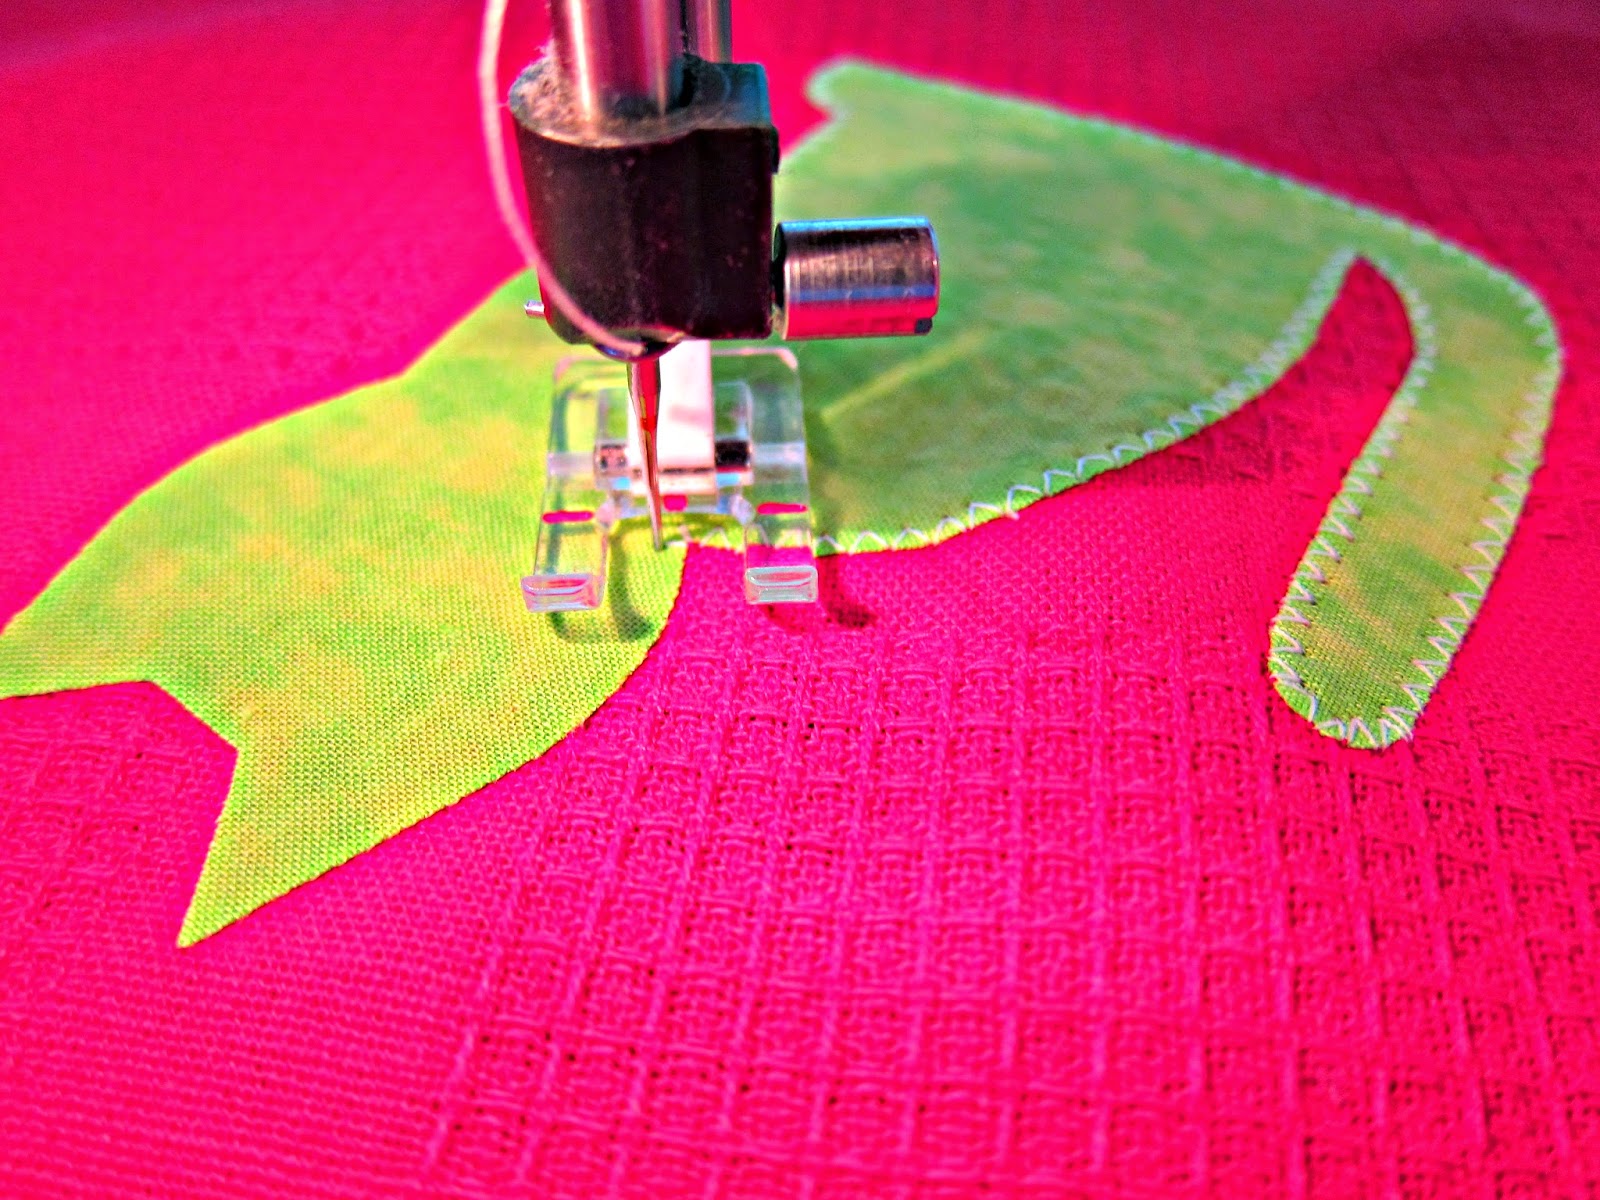
Fuse the appliques into place, then sew a narrow zig zag stitch around the edges.

That's it!  I love fast and fun projects!