Showing posts with label Accuquilt Go cutter. Show all posts

Monday, December 14, 2015

A Handmade Holiday


As usual, I'm having a busy holiday season-- for us musicians it's typically the busiest time of the year.  One must Make Hay While the Sun Shines, so to speak.

I've made a few small gifts for friends:

A friend who is new to sewing is getting an upcycled pincushion.  (It's upcycled due to old cd's being the base.  I've done selvage versions of this in my etsy store )


I thought she might also enjoy some appliques to add to her projects.


What wouldn't look better with a cat on it?


Since I was already using the cat die for the Accuquilt Go cutter I cut out a bunch more for a set of dish towels going to another friend.


There's definitely a feline theme to gift giving this year!


And as long as we're on the subject of cats:

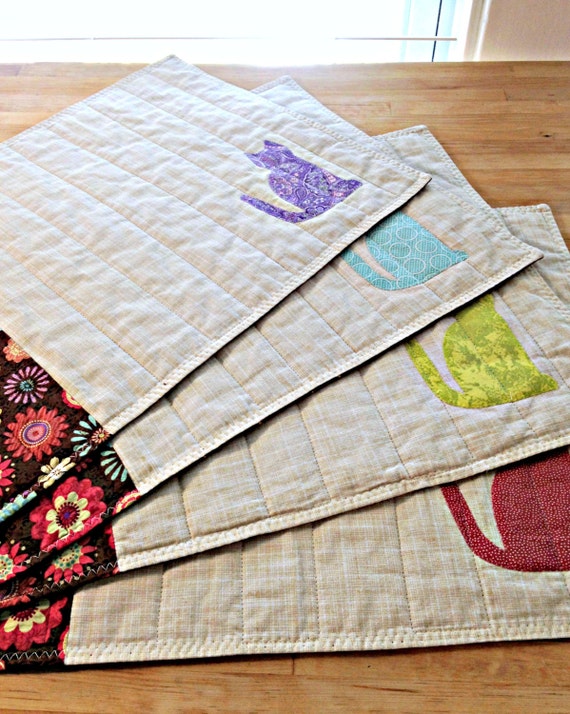
Here's the newest set of cat placemats,  now available in my Etsy store. 


Monday, September 28, 2015

A Holiday Destination

Where to go for the holidays?

DRESDEN.  Of course.


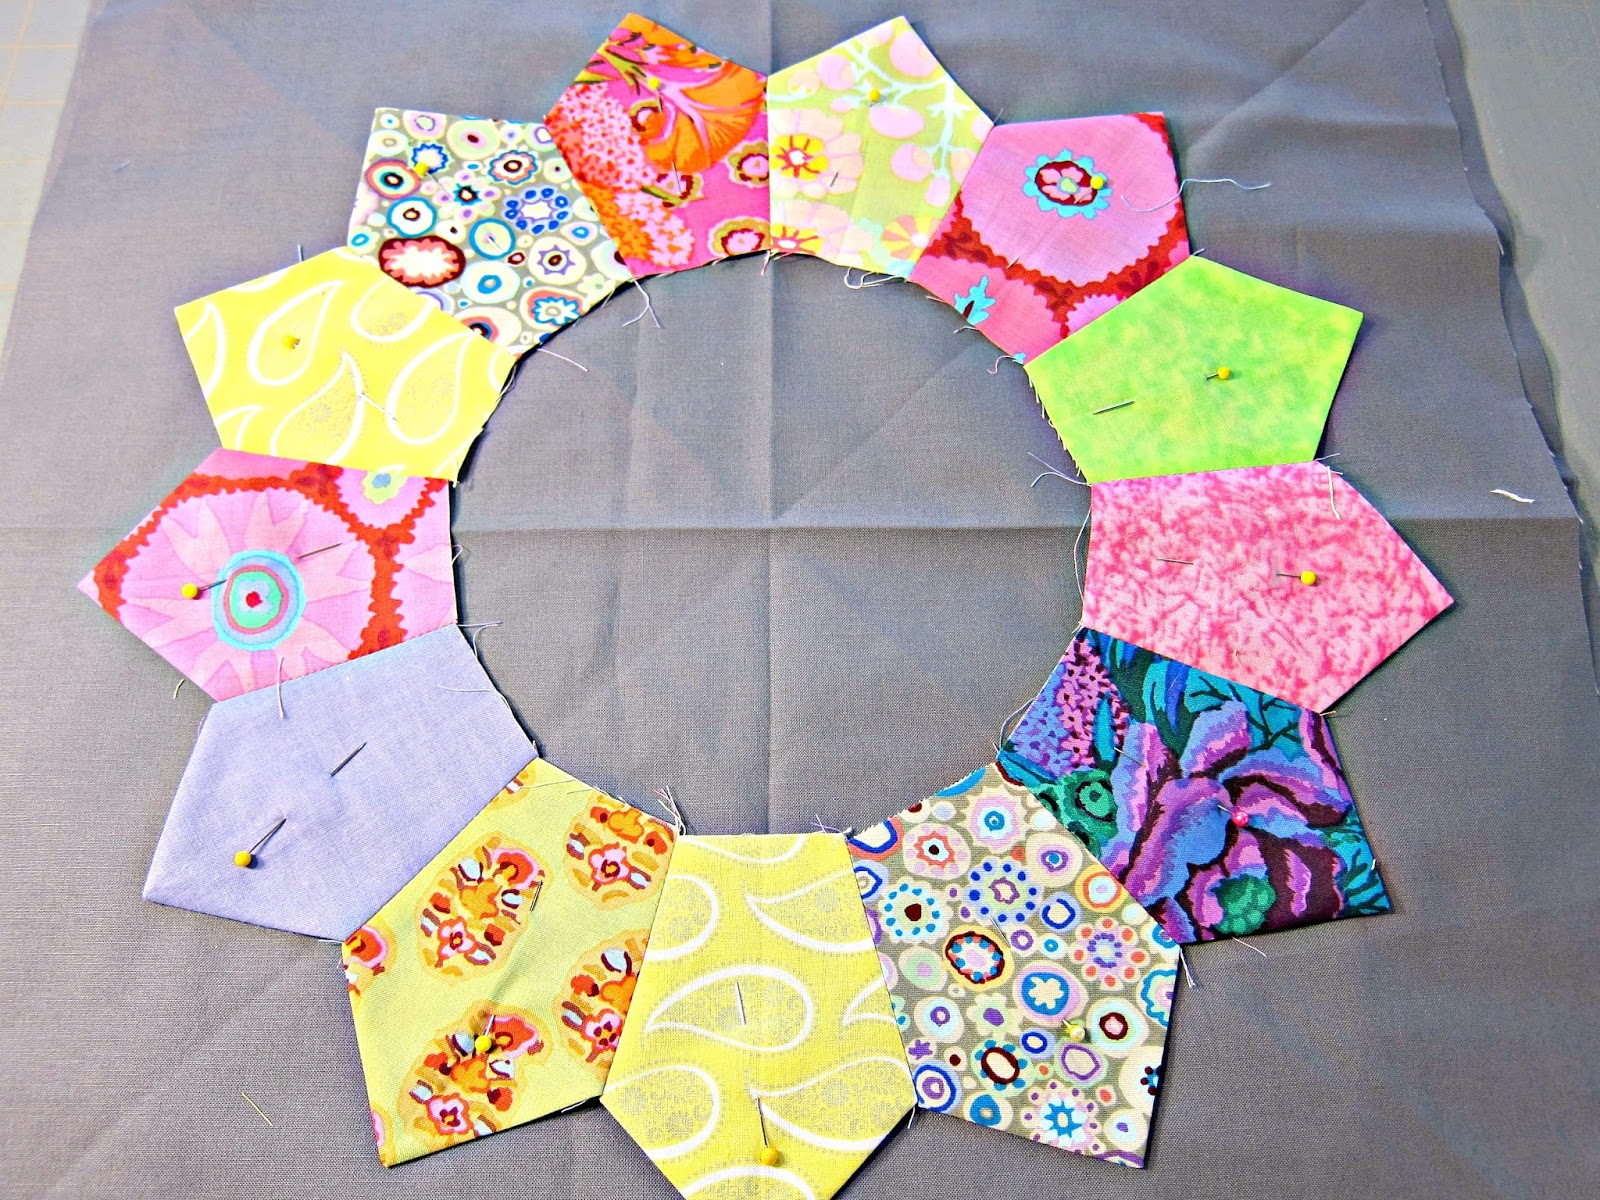
My Christmas fabrics generate scraps at an unusually high rate-- maybe because those fabrics only see the light of day for a limited portion of the year.  At any rate, having more fun with the Dresden Plate block seemed an obvious way to use up some of those scraps.


I quilted it with my walking foot.  There's echo quilting around the outside edge of the petals, plus a few circles towards the center.  It's only about 16" square, so not much quilting is required, making this a pretty quick project.  (And fun!) 


This was made with the Accuquilt Go tumbler block die for the petals-- and a "luncheon" size plate for the circle.  See my tutorial (Part 1, Part 2, Part 3) for the method.  And it's listed in my Etsy store.

Saturday, September 5, 2015

Here Comes Autumn

Incredibly, it's September.  Time to start thinking about cooler temperatures, brisk breezes, bright autumn foliage.

Well, maybe not.  Autumn is still a few weeks away here in hot and humid Florida.

What I do know is that my long, long summer off from orchestra work is coming to a close in a couple of weeks, so it's time to address all of the things I Was Supposed To Do.  So despite stifling temperatures, Here Comes Autumn, ready or not.

It's really my favorite time of year for seasonal sewing.


Here's a table runner and placemat set made out of the "Autumn Medley" collection by Martha Negley.  I'm not sure this fabric is being produced anymore, although you can still find it on Ebay and Etsy.


And here's the latest version of the Autumn Leaf runner:


This style runner has been a strong seller in my Etsy store for years.  I love making them!  I use the Autumn  Accuquilt Go die for the leaves and pumpkin.


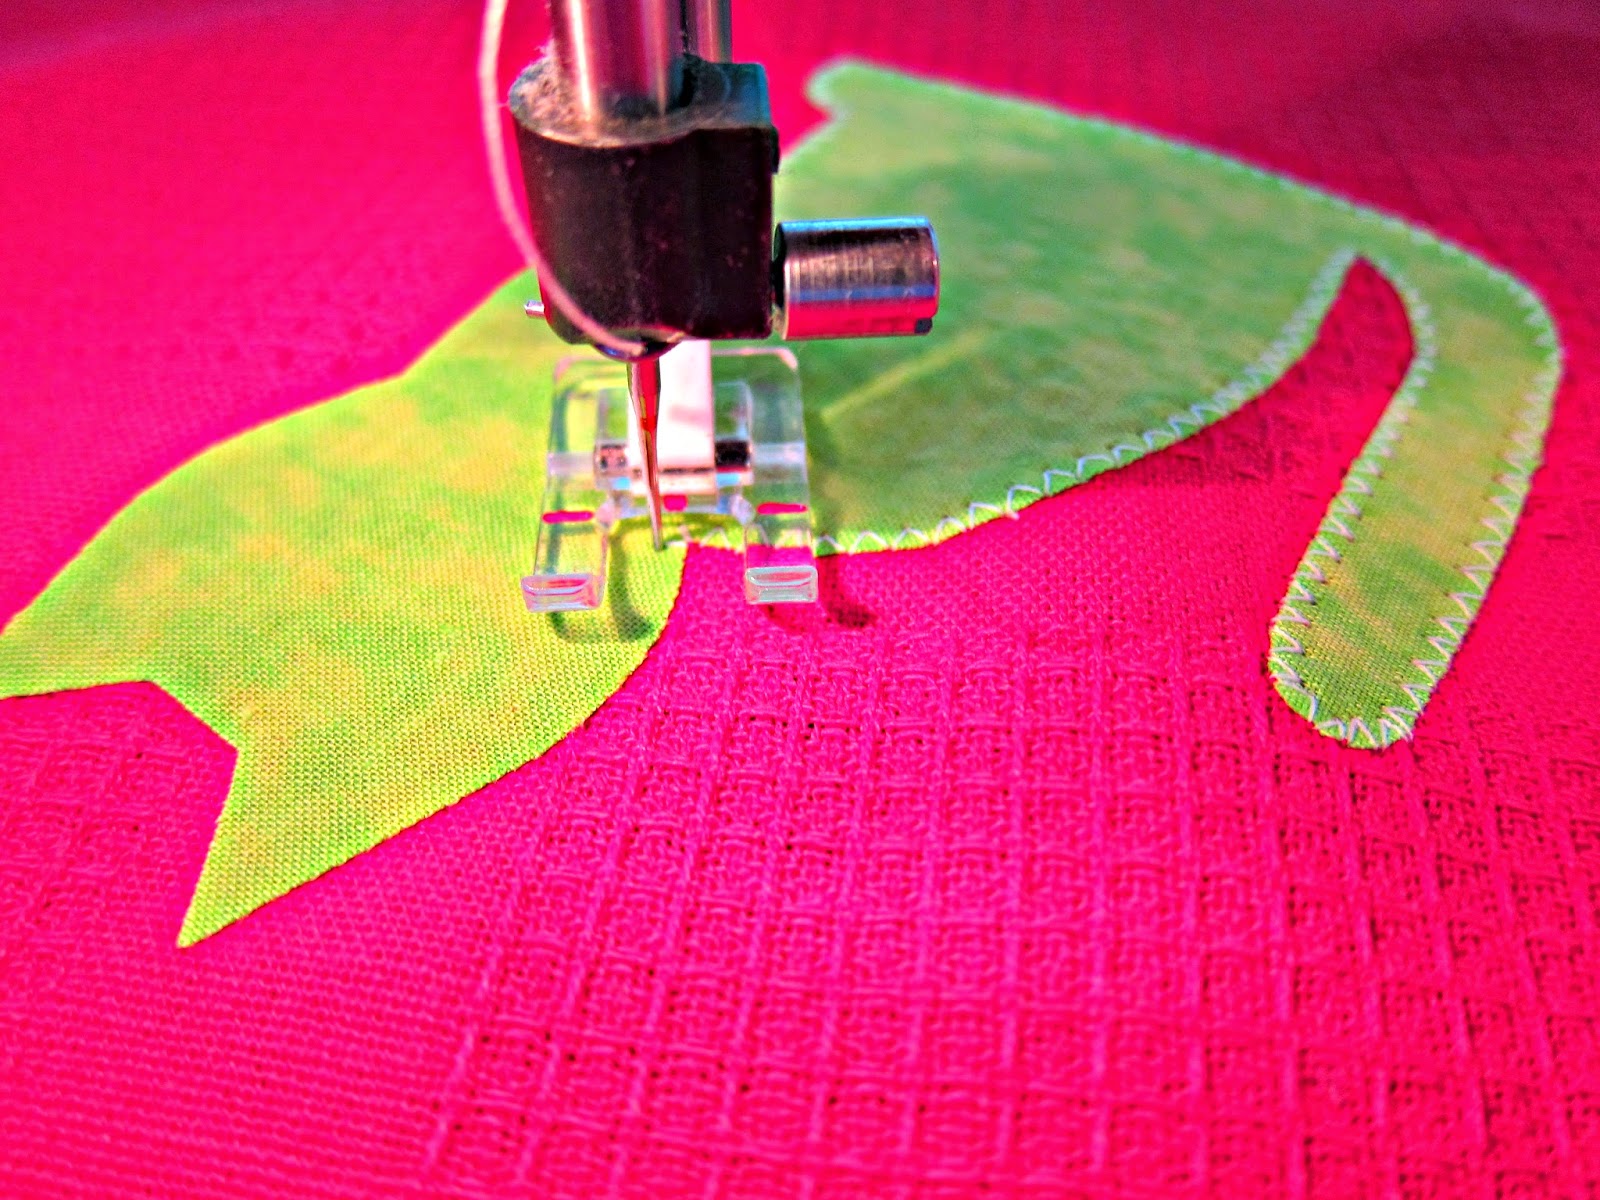
I fuse the shapes to the background fabric, then go around the edges with a narrow zig zag stitch. Then the whole thing gets basted and quilted.

For more details on these items, check out my Etsy store here.


Tuesday, June 30, 2015

Going to Dresden-- the big finish!

Let's finish our Dresden Plate blocks with an easy way to make perfect circles and lots of fancy stitches!

(If you need to catch up:  Part 1 and Part 2)

We've constructed the petal portion of the block and pinned it to an 18 1/2" square of background fabric.
To construct the center circles:  find a bowl, plate, or something circular that's at least 3/4 of an inch larger than the center of the block.  I used a 9" luncheon size plate and it worked just fine.

Trace the circle onto a piece of lightweight fusible stabilizer.  I always have a bolt of Pellon 960F in the house for making T shirt quilts, so that's what I used.


 Cut out the circle a little outside of the drawn line, and pin it to the fabric you've chosen for the center.

Pin right sides together:  the rougher side of the stabilizer is the right side, so have that facing the right side of the fabric.


 Sew all the way around the circle on the drawn line.


Trim away the excess fabric, then cut a slit in the back of the stabilizer.

Pull the the fabric through the hole.  You will have a circle with the right side of the fabric facing up and the right (rougher) side of the fusible stabilizer on the back facing down.
 Center the circle and iron to fuse to the block.
Now it's time for my favorite part:  fancy stitches!

These pictures were taken from the back of the completed blocks (before basting and quilting).


A narrow zig zag stitch, a single or double blanket stitch, or a satin stitch around the edges of the petals and the outside of the circle will all work fine.


Baste and quilt to finish.

My sampler turned out about 18 x 54"


With all the bright colors I used for the blocks I decided to keep the quilting simple with wavy horizontal lines done in invisible thread.




Tuesday, June 2, 2015

Going to Dresden, Part 2


This is a continuation of my last post, about constructing Dresden Plate blocks the Quick and Easy way using the Accuquilt Go cutter tumbler block die.  Click here for the full post and join in the fun!


We have 13 tumbler blocks cut out so it's time to start sewing.


Take each block and fold it in half lengthwise, right sides together.
Press.


Sew a 1/4" seam along the bottom edge.


Turn it right side out.

A chopstick or knitting needle helps to get that point fully turned.


 Press flat.


Have an 18 1/2" square of background fabric ready, and lay out the petals in whatever order you think looks best.


Sew them together in the order you selected, then press the seams open.


Center the circle of petals on your background fabric, and pin in place.

Next post:  we'll finish the blocks and have fun with fancy stitches!

Thursday, May 14, 2015

Going to Dresden, Part 1


Not this one, although I've been there and it's lovely


THIS ONE


I recently made several Dresden Plate blocks with my quilt guild as part of our ongoing Charity Quilt project and, while I loved how the blocks turned out, the traditional method of construction was a little fussy for me, involving making templates, tracing around them, cutting them out and THEN getting to the actual construction process. There's of course nothing wrong with doing it that way, but working with handmade templates has never given me my most accurate, or satisfying, results.  And I'm all about instant gratification, or as close as you can get to it when quilting!

Well, what about the Accuquilt Go cutter, my go-to gadget for quick and accurate cutting?

There is, in fact, a Dresden Plate die:


AccuQuilt-GO-Fabric-Cutting-Die-Dresden-Plates-55071-Block-On-Board-Quilting 

But here's the catch:  it's $89.99, making it one of the most expensive dies made. That's just way out of the budget for this underemployed divorced violinist.  (If you're feeling flush, it's available at www.accuquilt.com).
HOWEVER:  take a look at the middle row of the picture of the die.  See those blue shapes?  Don't they look like. .  .


. . .tumbler blocks?
YES.  You can make the petals of the Dresden Plate out of the 4 1/2" Tumbler block die, available on Ebay or Amazon for around $30, PLUS the die can of course be used for it's original purpose for a tumbler block quilt project.

That's what I call cost effective problem solving.


So grab some 5" scraps (or use leftovers from a charm pack), cut out 13 tumbler blocks and meet me back here for the next part of this tutorial!

Sunday, May 3, 2015

A Quick Gift

A friend of mine in the orchestra has a birthday coming up and I was trying to think of something fun and useful to make for her.

She's a passionate cook (I've been lucky to be on the receiving end of her culinary talents many times) AND she loves cats and owns 6 of them.

How about a set of cat dishtowels?

They're a quick, easy and scrap eating project for me and something really useful for her. A win-win situation for sure.


There is of course an infinite variety of ways to approach a project like this, but here's how I did these:

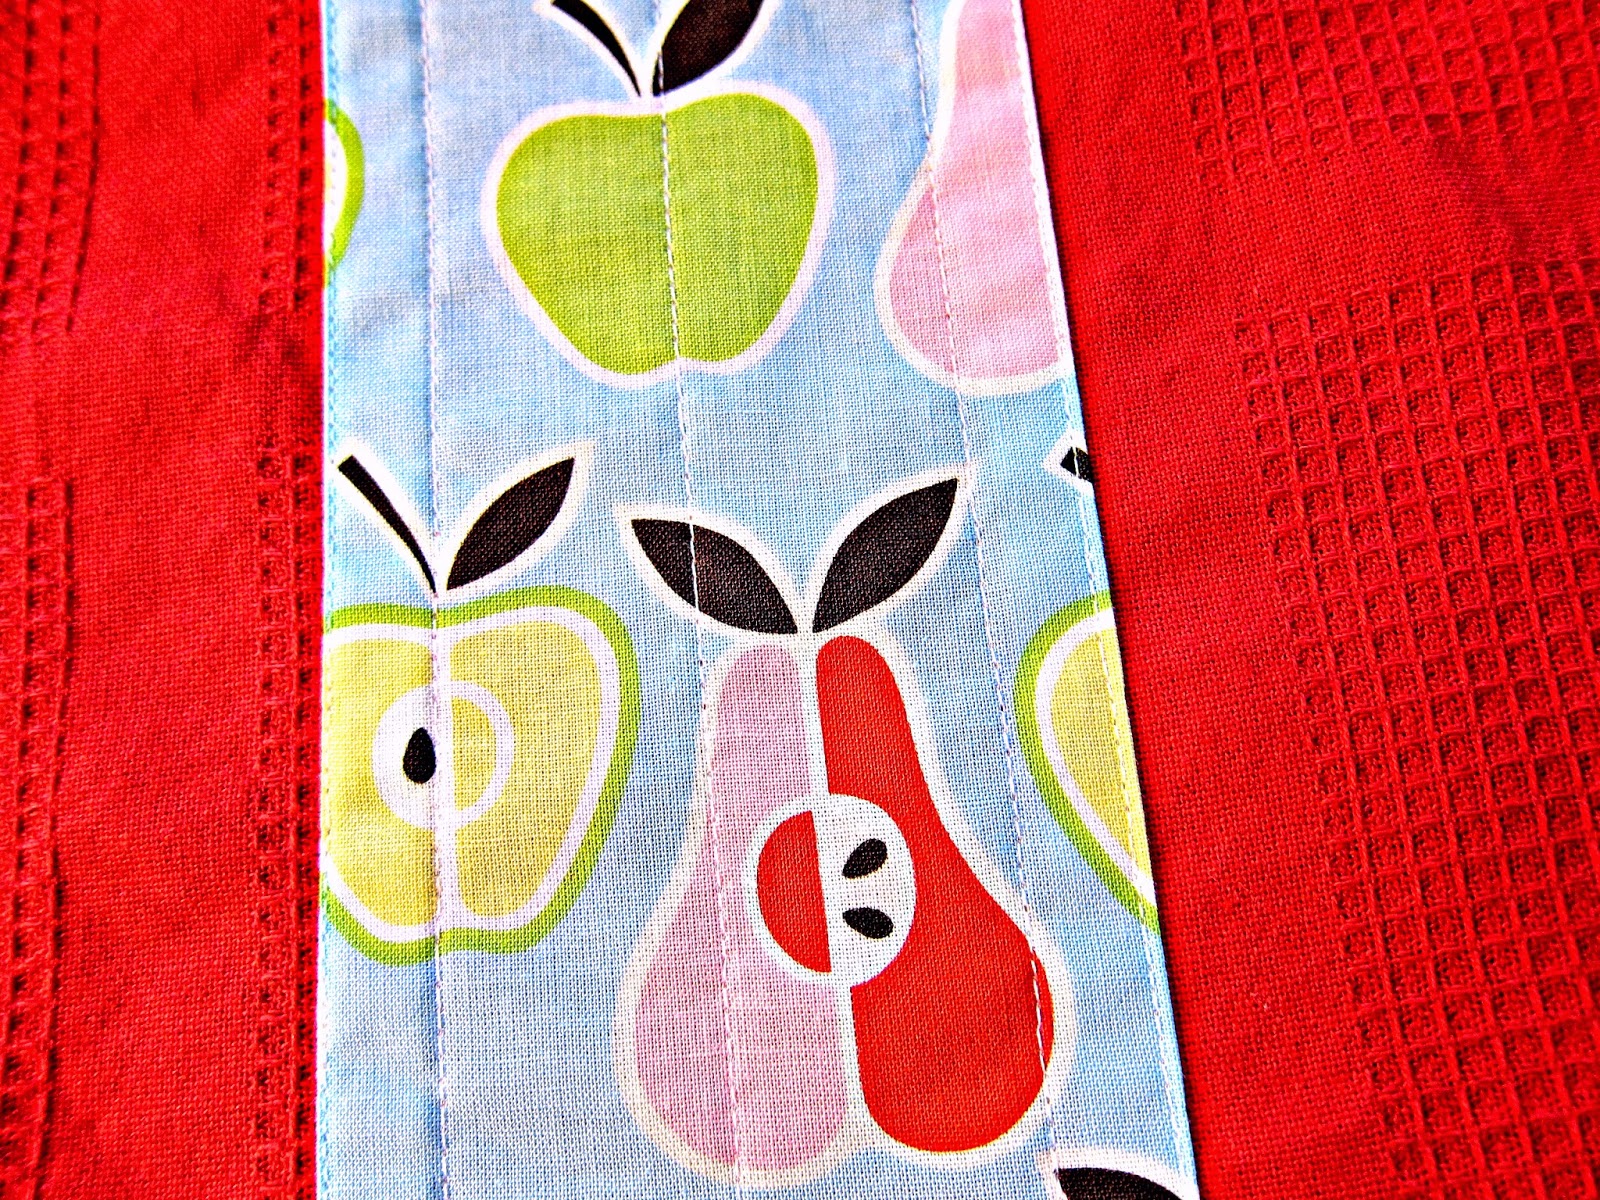
Start with a strip of fabric on the side of a pre-washed dish towel.


Fold the long edges and short edges under, press, and pin.  Stitch really close to the edges, then sew a few parallel lines of stitching towards the middle for sturdiness.

I used a straight stitch, but a narrow zig zag or blanket stitch would work fine along the edge as well.


Prepare your appliques.
For this particular project, the cat die for the Accuquilt Go cutter was a natural choice.


Fuse the appliques into place, then sew a narrow zig zag stitch around the edges.

That's it!  I love fast and fun projects!


Sunday, March 8, 2015

Meow


Finally!  This Accuquilt Go die has been hanging around for awhile, waiting for a little time and inspiration.

Time for a fun set of placemats for my Etsy shop (here)


Typical for me, I used four different fabrics for the cats.


Polka dots seemed perfect for the back.

Like all of my applique projects, the cats were fused to the background fabric, then I sewed a narrow zig-zag stitch around the edges.  After that, the whole placemat was then basted and quilted.


We interrupt this quilting blog for an epic amount of violin playing coming up:


Madame Butterfly is my favorite opera, so I'm so happy to be playing it again with Opera Tampa!

Also this week, with The Florida Orchestra:


MASTERWORKS


Stravinsky: Petrushka (1947)
Rachmaninoff: The Isle of the Dead
Tchaikovsky: Francesca da Rimini
This all Russian program begins with Stravinsky’s Petrushka, the tragic tale of puppets endowed with human vulnerabilities.  Intertwining the themes of life and death, Rachmaninoff’s Isle of the Dead sets a mood of mystery and contemplation. The evening closes with Tchaikovsky’s gorgeous yet tragic tale of love in his symphonic poem Francesca da Rimini


Saturday, September 6, 2014

A Little Embellishment

How about a little something for me?

 I bought this fun linen blouse/jacket a few months ago at a local thrift shop.

It still had the original shop tag on it, and an extra button-- so it's never been worn, despite being sold at a used clothing store.

It's great as is but I thought it might look even better with a little fabric embellishment.


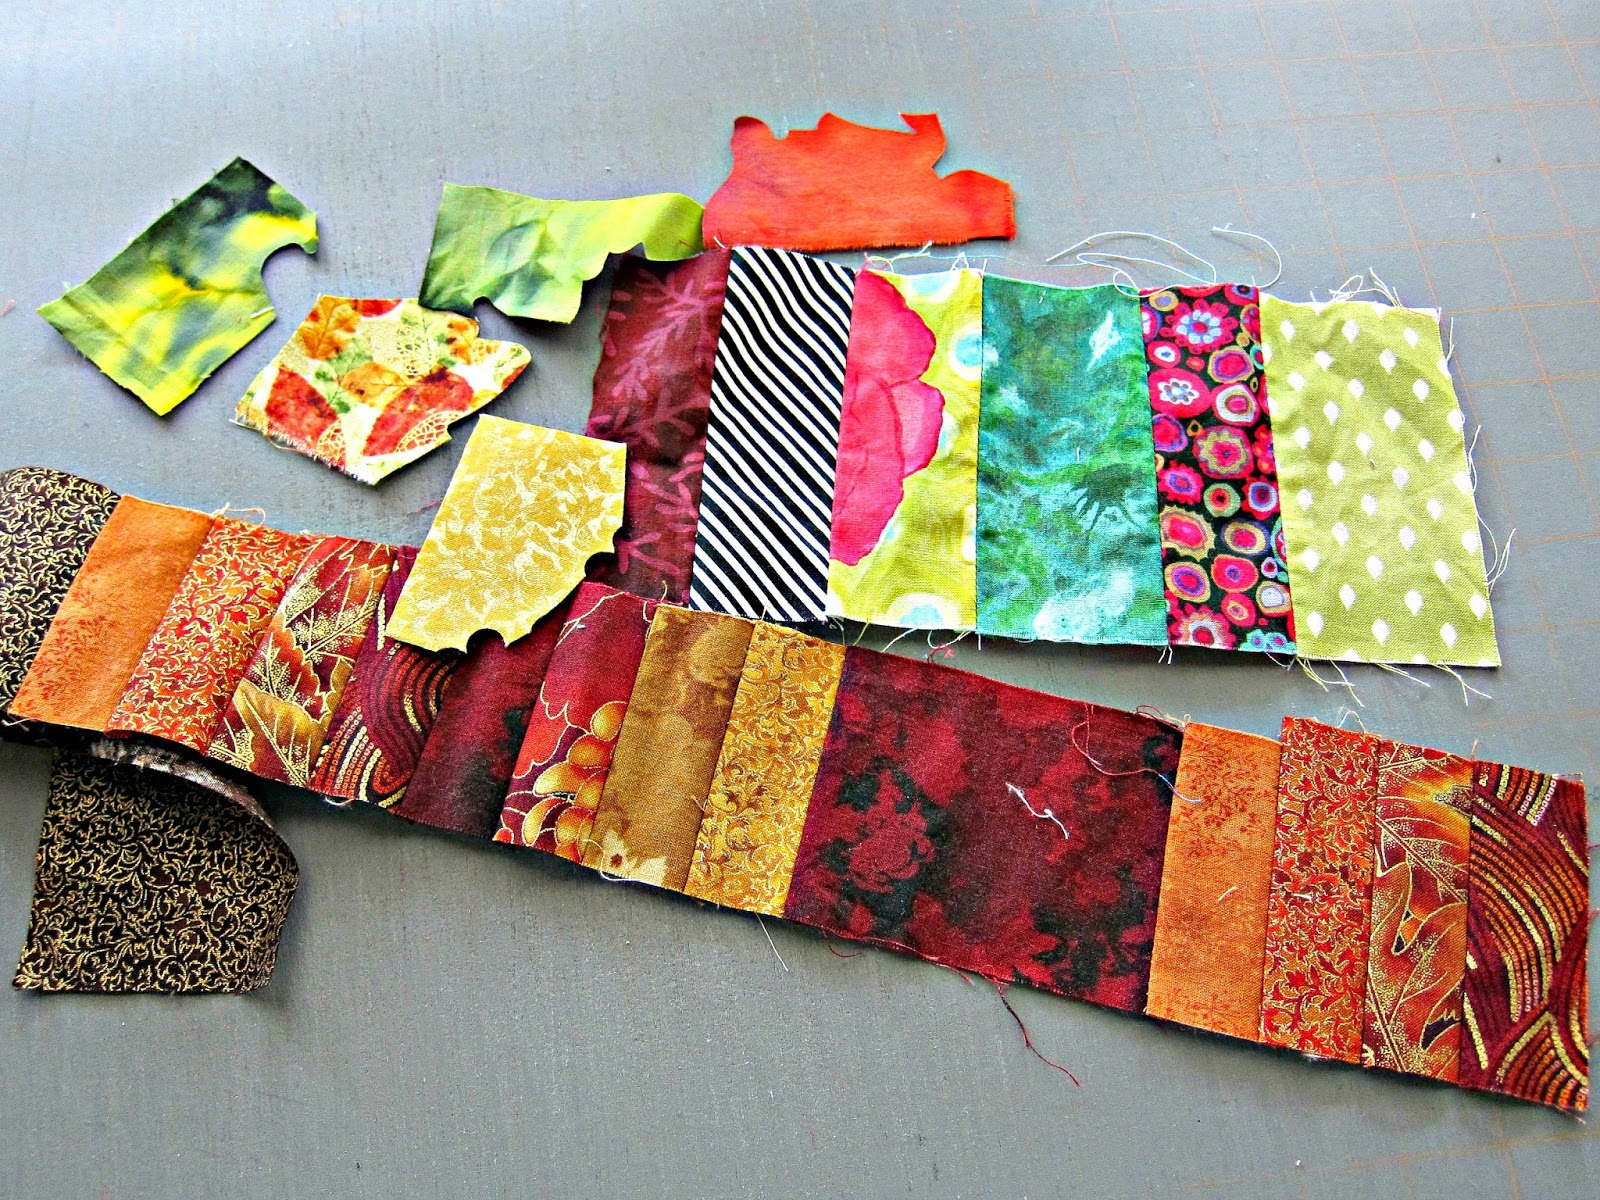
I dug out some odds and ends that were laying around, waiting to be useful.


I ironed fusible web to the backs, then used the "Autumn Medley" Accuquilt Go die for the leaf shapes and little circles.


I pinned the leaves to the bottom hem of the jacket, then ironed them on once I was happy with the layout.


Pretty!