Showing posts with label learning new things. Show all posts

Monday, March 28, 2016

Quilt Show!

Last week I had the pleasure of finally attending the Sewing and Quilt Expo in Lakeland, Florida-- about a 40 minute drive from my home.

This show has been coming to Lakeland for quite a few years but it's always been scheduled during a busy work week for me so I've never had the time to go.

This year my Spring Break occurred during the same week as the show so HURRAY!  I finally got to go!


There are loads of really fun classes offered at the Expo but when I saw this one it seemed like a wonderful opportunity to get some technical skills to use on my HQ Sweet 16.  Plus, the class was actually taught on the Sweet 16 --there was a whole classroom of them!


Here's a quick shot from the class.  We worked with handouts breaking down the basic shapes like straight lines, S curves, loops, and hooks (shown in the picture.)


Some of the students were new to the machine, others were like me and had owned them for awhile.  (I've had mine for about 3 years.)


This was a technique class, not a project class, so I just had this sampler at the end. But I learned a lot!


Some skills were brand new, like this attempt at pebble quilting.

Looks more like a bunch of grapes to me!


I LOVE THIS.  It's feathers done as "l's" and "e's".  Make your spine, then work your way down with the l's and e's done as figure 8's.  Really easy and I love the modern look.


This fern design was one of my favorites too, working all with "S" shapes.  And I like how it looks really good if the 2 sides of leaves don't match.


As usual at an event like this there were lots of vendors plus some beautiful quilts on display.

I loved this one from the Tampa Modern Quilt Guild.  That's some really adventurous quilting in the white spaces.


Now THAT'S what pebble quilting is supposed to look like!

Thursday, July 23, 2015

A Magic Carpet Ride


Well, it was actually a braided rug.

I had an absolute blast of a week at the John C Campbell Folk School learning all about the art of braided rugs.

I wanted to have an adventure this summer and this seemed like
a fine place for one.  It's in a beautiful location that's drivable
from here (southwestern North Carolina, about 10 hours from my home in Tampa) and the range of classes that's offered is absolutely staggering (click here for a list of classes).
And I thought a braided rug would be fun to make, a completely new skill for me, and something that would look great in my wood-floored, Craftsman-style bungalow.


It all started here, with a box of 2" wool strips:


  Our wonderful instructor had brought some samples of her beautiful work along for inspiration

rugs by Diane Ellis


  Looks easy, right?


We had these wooden "ducks" to provide tension for the braiding portion of the process.

In the old days they would have used a nail on the wall, or inserted the strips in the drawer of a heavy dresser.


The wool strips were threaded through these metal holders to keep them folded.

Ideally, when you braid you don't want any folds, creases, or raw edges to be visible.  Plus you want even tension so the braid comes out even.


After making several feet of braid, it was time to lace it together to form the rug.

As you can see, my braid is a long way from perfect!  Lots of folds are visible, although it got better as I went along.


The difficult part of the lacing process is getting the rug to lay flat, even when going around the curves.


Here is my rug just after being completed!

The class consisted of 7 other ladies plus our wonderful and dedicated instructor.  We all got along marvelously and it was just a wonderful experience.


The campus of the Folk School is breathtakingly beautiful, and quite historic.

My class met in this building, which also houses the quilting studio. (No quilting classes were going on the week I was there.)


We had our class at long tables in this room, since there was no weaving going on that week.

Look at all those looms!  My next class might have to be weaving.


Every morning started out cool and misty. . .


And ended up being sunny and gorgeous!


I can't wait to go back!                                                            


Thursday, February 19, 2015

Keep it Clean

I recently tackled an unusual project, at  least for me:

Real Sewing (!)  With an actual pattern (!!)

I've mentioned before that I'm not, nor have I ever been, a Real Sewer.  I just quilt.

However, a friend at work asked me to help her out with a simple sewing project, and I said I would give it a try.


My friend's dad recently had a stroke, and while he's recovering well, meal time is still a little messy.  And the commercially produced bibs he's been using, while providing adequate coverage, are just plain ugly.
She even showed me one of the bibs he was using-- a depressing, limp thing made of terrycloth. Yikes.
SURELY I could produce something a little snazzier.


Even I can handle a tissue pattern that's just one piece!


I chose a spiffy madras plaid for the front and terry cloth for the back.

Rather than cutting out the front and back pieces at the same time, I cut out the front, sewed it to the back fabric right side down, THEN trimmed the back so all of the edges were even without the struggle of trying to sew both cut pieces together.

It was then turned right side out, ironed, topstitched and quilted.


I chose a brown homespun plaid for the second one.


The finishing touch:  iron-on velcro for the tabs at the top, no sewing needed!

Monday, August 25, 2014

Learning New Things

Summer 2014 will be remembered as, among other things, the Summer I Learned How To Knit.

This has been on my "do this one day" list for a long time.  My grandmother was a master knitter and crocheter, and I've been kicking myself in the head for the last 40 years or so that I never learned either of those skills from her. In retrospect, violin playing/practicing/performing kept me pretty busy from a very young age, and there are only so many hours in a day.  So perhaps that's a valid excuse for waiting so long. Or perhaps I needed this particular activity at this rather remarkable time in my life (I'm living alone for the first time ever, see this post to catch up).

At any rate, the local Joann's offered a Knitting 101 class that got me off and rolling.


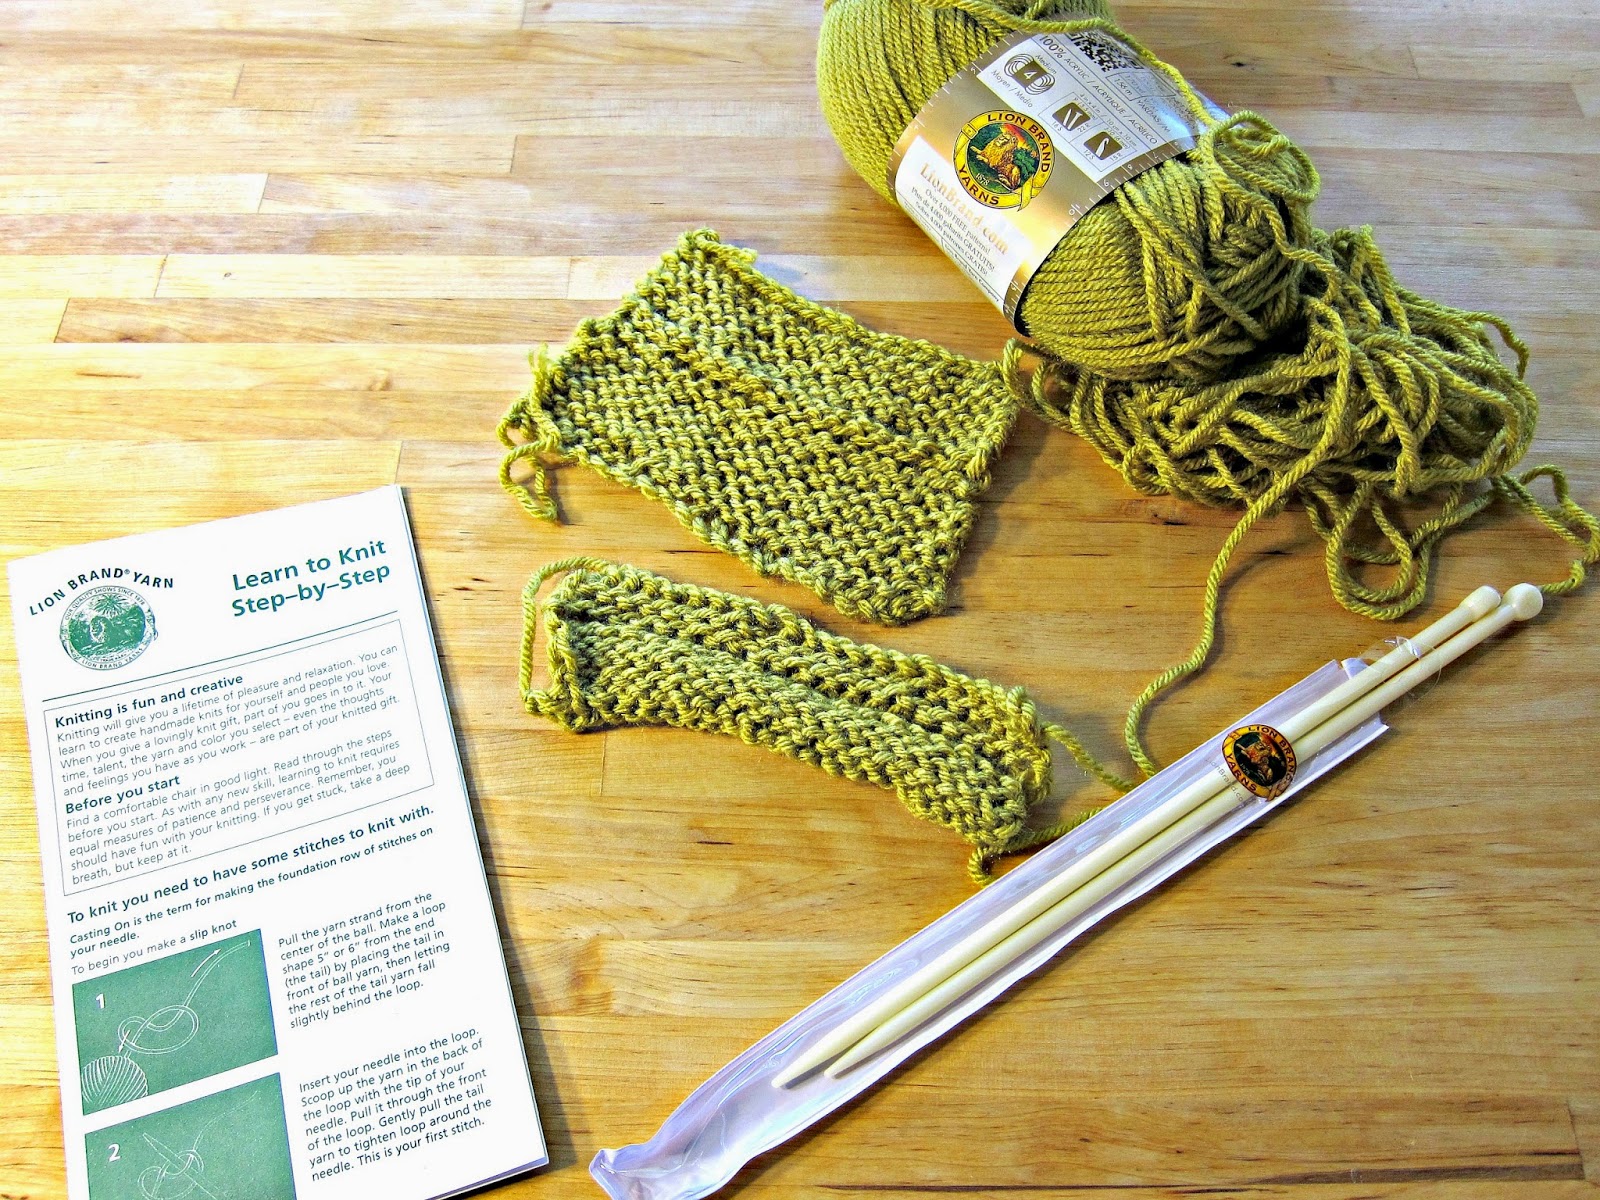
There was an instructor from the store plus a kit of needles, yarn and a booklet of basic instructions.

It wasn't a specific project class, just a technique class.

Cast on, knit, purl, bind off.  Repeat until you remember how to do it.


I've since made this ribbed scarf.


I think the yarn is really pretty but being a wool and angora blend the scarf is formidably warm, especially considering that I live in Florida.


This newest project will be a little more usable, being a cotton and acrylic blend yarn and a lacy stitch.


Don't worry, I'm not neglecting my quilting!  But  it's fun to have something to do when I'm sitting with friends or just watching TV.


Sunday, July 7, 2013

Vermont Quilt Festival, Part 2

Last week I had a great visit to the Vermont Quilt Festival!  See this post for some awesome quilty eye candy of some of the exhibited quilts that caught my eye.

A highlight for me was the class on "Fancy Free Motion Feathers" with instructor Sue Nickels.

I had a big surprise just walking into the classroom.  I knew that the local Bernina dealer was supplying machines for this class, which was great, since I wouldn't have to bring a machine with me all the way from Florida.

I was expecting one of their "entry level" machines

BERNINA 215 Like maybe this "2 series" machine.


I WAS WRONG

How about this one, instead:


This 750 Series Quilters Edition was all set up and waiting for me, along with about 20 others for the whole class!  Wow!  What fun to have a new state of the art machine for the day!  And there were no worries about using an unfamiliar machine:  a Bernina tech was there to thread the machine, insert bobbins, and do whatever else anyone needed.  So all I had to do was step on the pedal and enjoy the ride.


The class instructor, Sue Nickels, is the author of this book, "Fabulous Feathers and Fillers", and the class was based on the techniques in the book.


Purchasing the book wasn't required for the class-- there were plenty of handouts.  But I couldn't resist getting an autographed copy!


 The day began with a lengthy discussion of all of the elements that go into a quilt-- needle size, batting, tension, and thread.  The sample pictured above was one of the many small sample quilts that were passed around the room.  It's about 16" square, and it demonstrates how different weights of thread changes the appearance of the quilting. There were also other samples demonstrating different types of batting.

Even her little sample quilts were really beautiful!


Then it was time for the students to learn how to trace the patterns onto our own sample pieces, and stitch them out.

My first fancy feathers!  There are the feathers themselves, plus a little echo quilting around them, and small stippling to fill in the blank spots.


I messed around a little on my own during a break, and did some teardrop shapes, and TRIED to get a really small stipple.

The feathers were not very difficult but getting the stippling really small is going to take some practice.  If everything is done correctly, the feathers really "pop" visually, and almost look stuffed, like trapunto.


Like this.


A few more class samples.


Big thanks to Sue Nickels for a wonderful day of instruction and inspiration!